First we started with point and shoot film and disposable cameras. We'd pick the maker, Fuji, Kodak, etc. and the ISO - KODAK 400, for example. Photos were pretty easy. You'd load the film, click, drop off the film, and they'd either come out good, or not so good.
Then we had digital point and shoots. Throwing up deuces and duck faces. Selfies and indoor flash. And they'd either come out good, or not so good.
Now we have smart phones. We point, we shoot, we edit, we filter, and they usually come out pretty good. But we can get into that later.
What I want to talk about now, though, is DSLR cameras. Most of us have worked our way up the ladder to own some sort of DSLR, wether it's a Canon Rebel or a Nikon D3300, or something even more heavy duty like a Mark IV... The great thing about these cameras is the ability to change lenses and shoot in manual mode.
I've had many people ask me how to move up from Auto settings to start taking clearer, sharper, all-around better images. And before we get into specific examples, we need to cover the basics.
There are three components to shooting in Manual mode: SHUTTER SPEED, APERTURE, and ISO.
All three factors can be changed to work with each other to create a well-lit, clear, detailed photo and they all relate to how the camera uses light
A guy in college told me as he was ruffling through his camera bag of lenses.. while I stood there with my one Canon Rebel and one lens - Painters use paint as their medium; Photographers use light
ISO | the camera's sensitivity to light
In film cameras ISO indicated the film's sensitivity. In digital cameras, on a scale usually ranging from 100-6400+ it is the sensitivity to light. On a bright day outside, the camera needs to be less sensitive because there is plenty of light available - you would probably shoot with an ISO of 100. In a darker setting, like outside at dusk or at night, there is less available light, so the ISO has to be higher - ISO of 500+ depending on how much light is available.
One way to make an image brighter is to make the ISO higher. However, the higher the ISO, the more grain will appear in the image.
APERTURE | light allowed into the camera (f-stop)
Aperture relates to the lens on the camera. Often lenses are referred to by (1) focal length and (2) f-stop. For example, I mainly shoot with a 50mm 1.2, meaning the lowest f-stop on the lens will be 1.2.
The lower the f-stop (the smaller the number), the more light is allowed into the lens. An f-stop of 1.2 will let in a lot of light, meaning the lens is set to be wide open to let in as much light as possible. The higher the f-stop, the less light will the allowed into the camera.
The lower the f-stop, the shallower the depth of field. So with an f-stop of 1.2, only a small plane of the image will be in focus. This is how to create a blurred background: shooting with a small f-stop (or wide open aperture).
The higher the f-stop, the deeper the depth of field. An f-stop of 5.6 will allow a deeper plane to be in focus. This is ideal for group photos with rows of people, to get all the rows in focus; landscape photography is another example where you might want to shoot with a higher f-stop, to allow more things to be in focus as you look out onto the horizon.
TWO main things are affected with f-stop:
1. The lower the f-stop, the more light is let into the camera; the higher the f-stop, the less light is let into the camera
2. The lower the f-stop, the more shallow the depth of field (more blurred background); the higher the f-stop, the deeper depth of field (allowing more things to be in focus)
SHUTTER SPEED | how long the shutter is open
Shutter speed indicates how fast or slowly the shutter opens and closes. The longer the shutter is open, the more light is allowed into the camera; the faster the shutter speed, the less light is allowed into the camera.
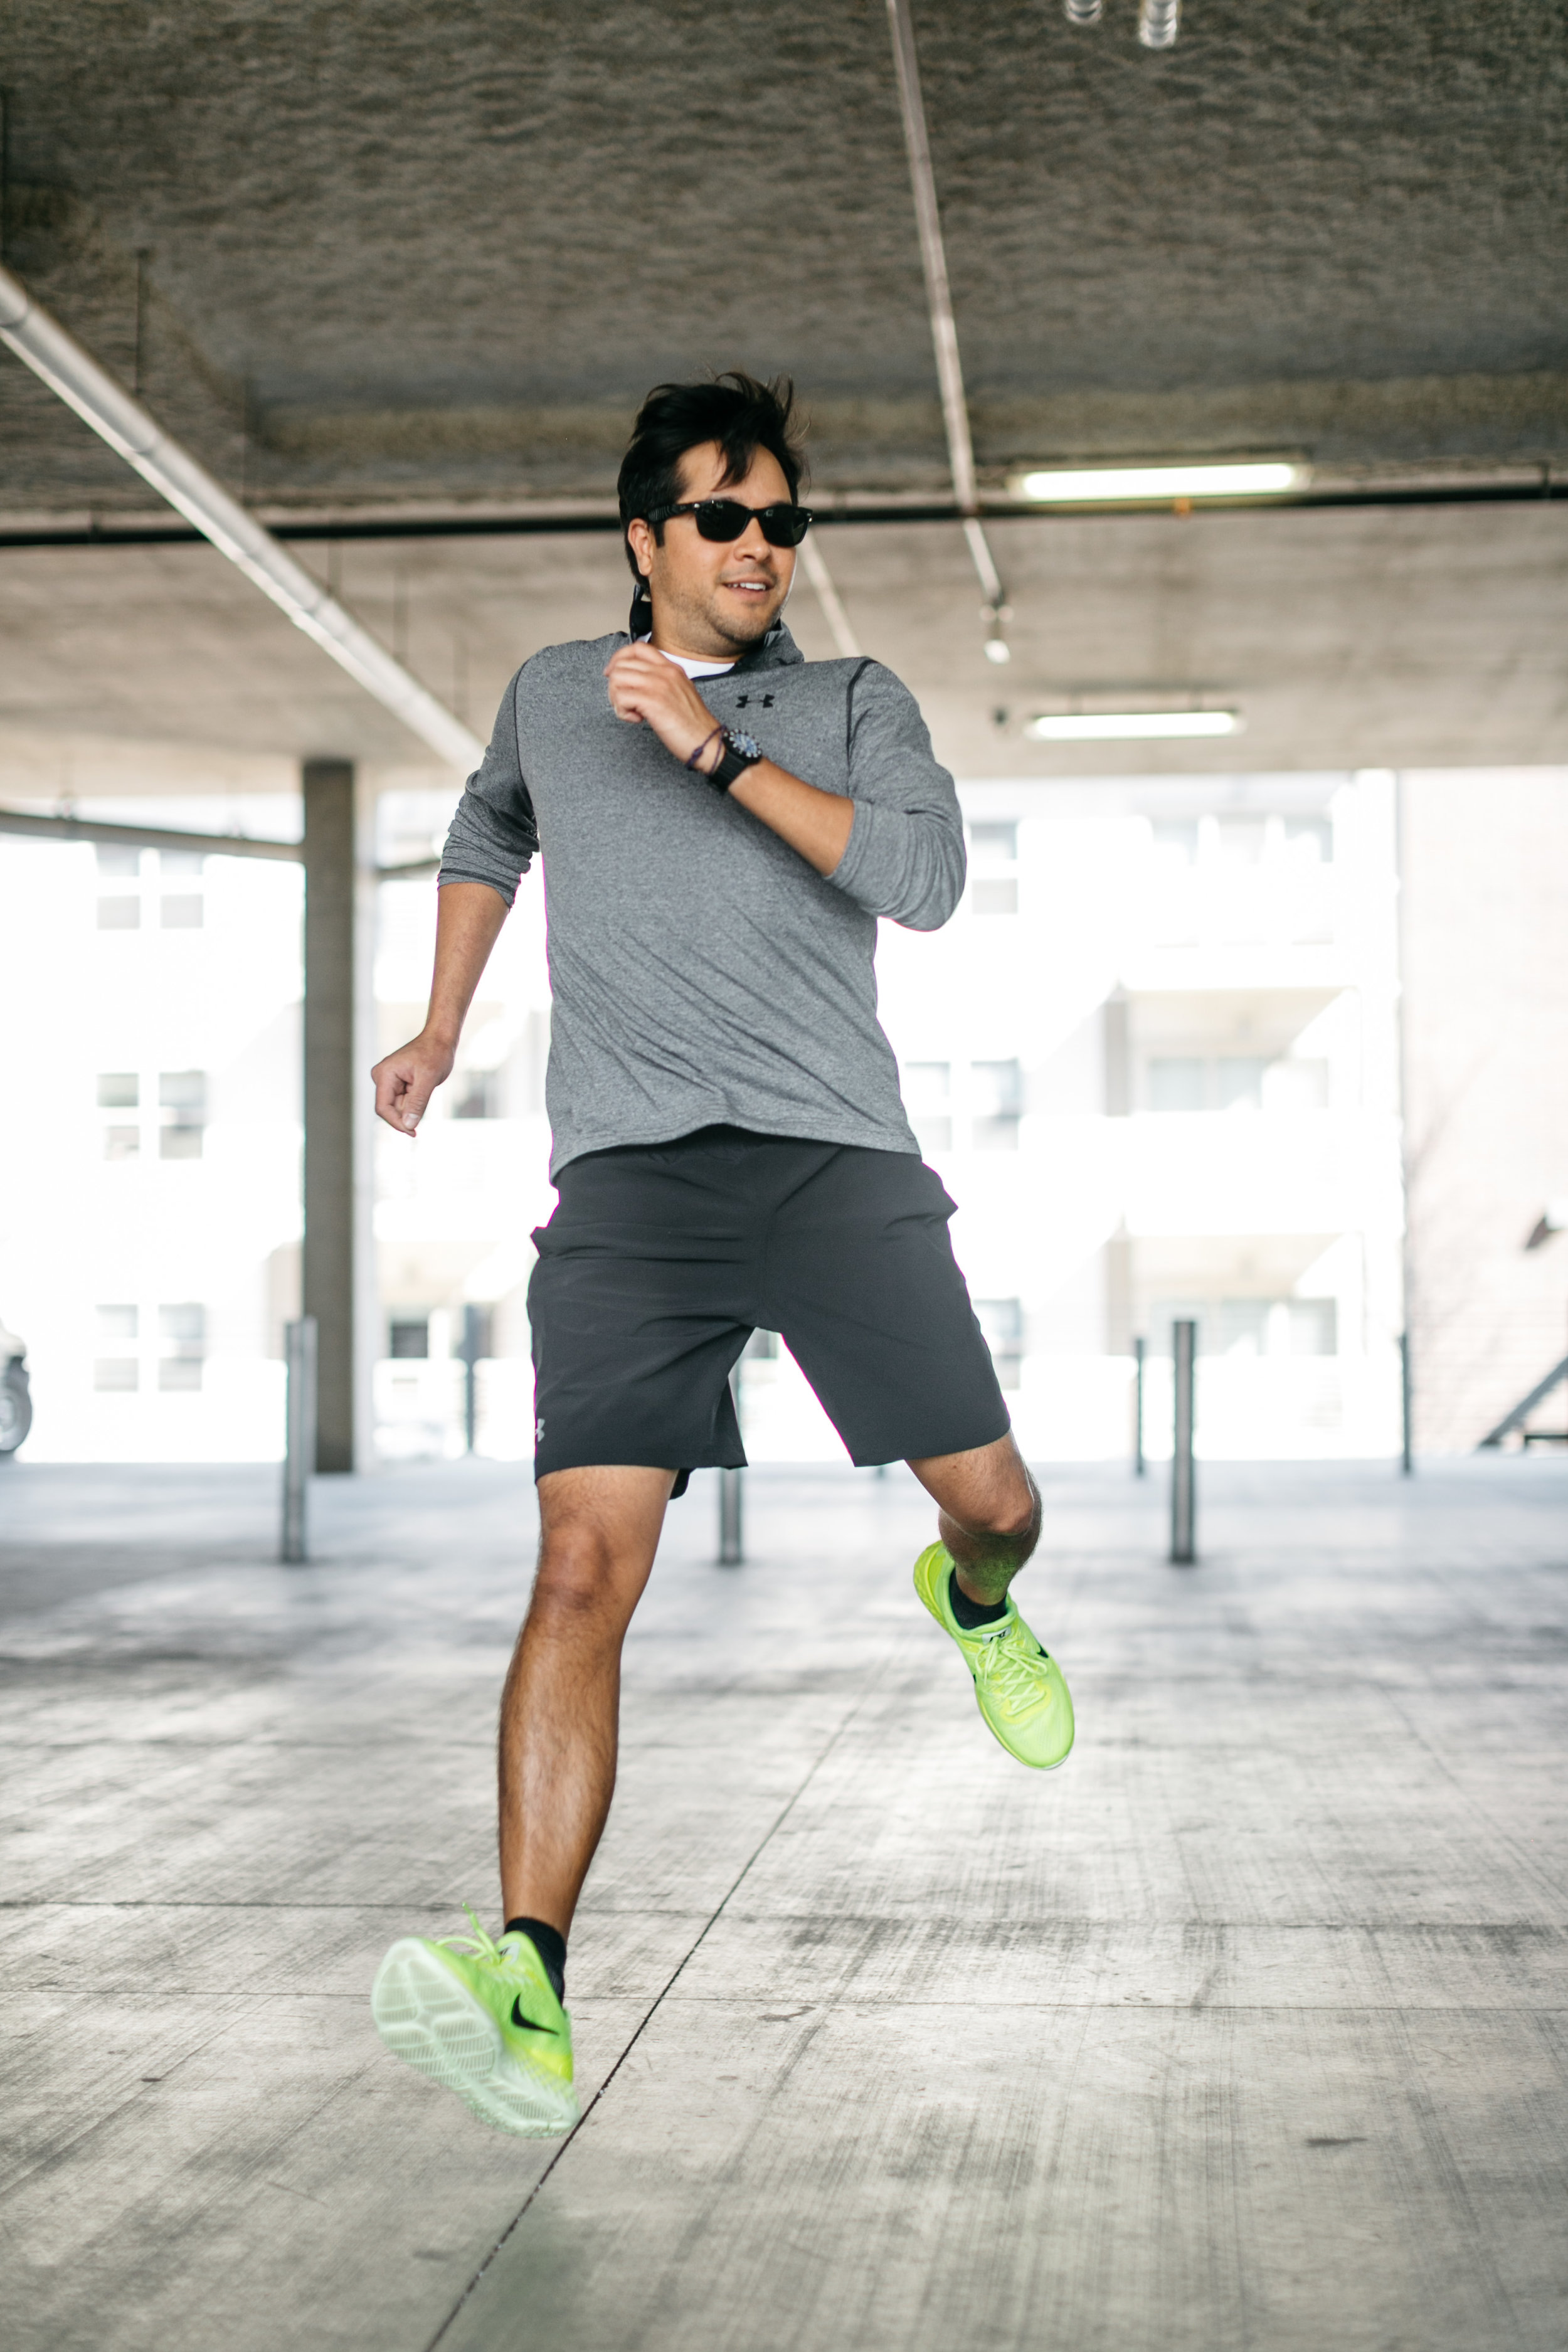
Movement, like people walking or talking with hand gestures, needs to be taken with a high shutter speed (1/160 or faster). Interiors, landscapes, and product photos where the subject is not moving can be shot at a lower shutter speed, especially in it's shot in a dim setting to let more light into the camera.
If the shutter speed is too low, the subject can become blurred if the camera is not held steady enough. This is when tripods are useful.
ALL TOGETHER
BIGGEST PIECE OF ADVICE | practice practice practice
These three factors work together so you can create an evenly and well-lit image. Find your preferences and try tweaking different things to see what image it creates. The wonderful thing about digital photography is the ability to guess and check. The best way to learn your camera and your preferences is to practice.
There are different modes on cameras that allow you to set just one or two of these and it automates the rest. This is a great way to move your way up from shooting on Auto to shooting on Manual.


